Enviar notificaciones de Telegram con Laravel 9
Aprenderemos a enviar notificaciones de Telegram con Laravel 9
Paso 1: Instalar el canal de notificaciones de Telegram
Antes de poder enviar notificaciones a través de Telegram, debe instalar el canal de notificación de Telegram a través de Composer:
composer require laravel-notification-channels/telegram
Paso 2: Crea tu Bot de Telegram
Abre Telegram, busca el bot BotFather y saluda.
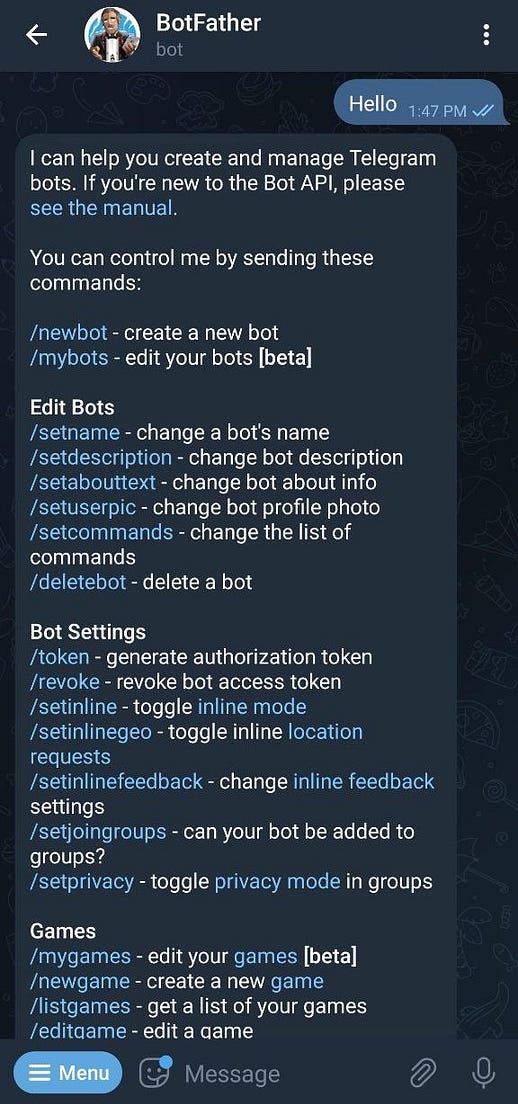
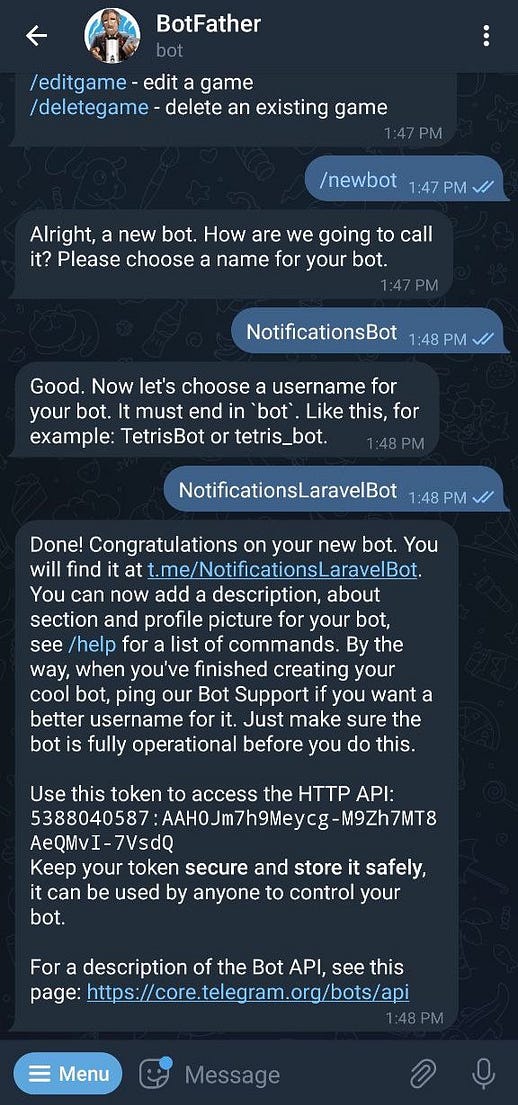
Seleccione o escriba /newbot, elija un nombre y un nombre de usuario y obtenga su token.
Paso 3: Configura tu Bot de Telegram
Agregue el servicio de telegramas en el archivo config/service.php.
# config/services.php

'telegram-bot-api' => [
'token' => env('TELEGRAM_BOT_TOKEN', 'YOUR BOT TOKEN HERE')
],
Agregue su token al archivo de entorno.
# .env

TELEGRAM_BOT_TOKEN=5388040587:AAH0Jm7h9Meycg-M9Zh7MT8AeQMvI-7VsdQ
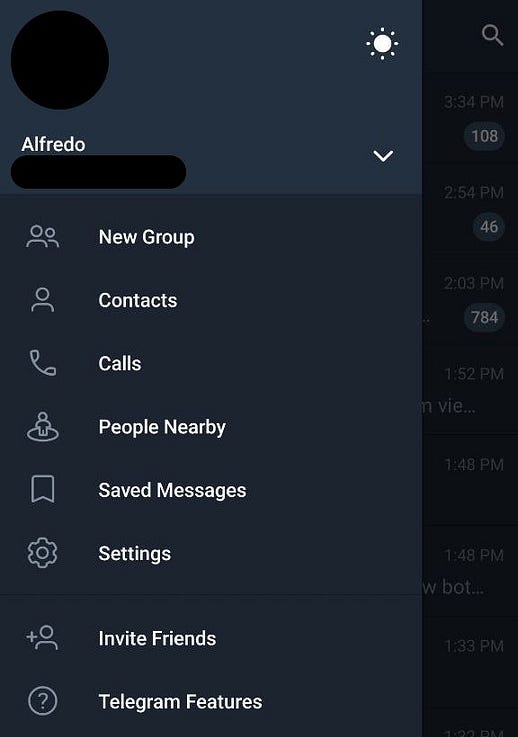
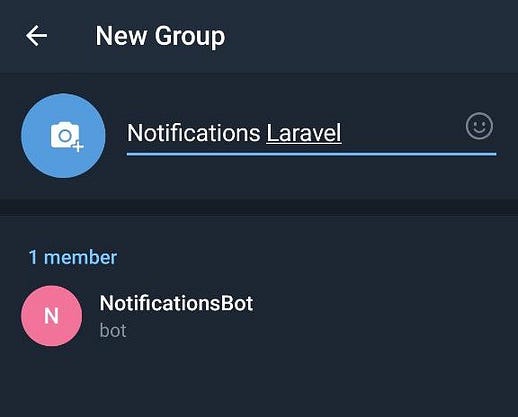
Paso 4: Crea un grupo y obtén tu ID de grupo
Seleccionar nuevo grupo
Agrega tu bot al grupo.
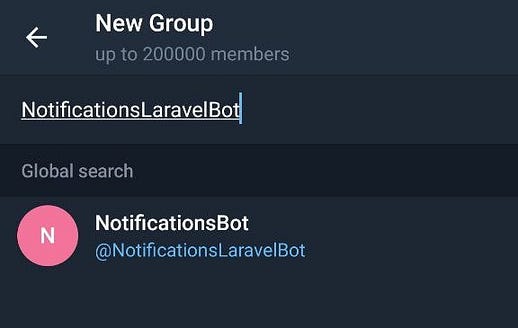
Elige el nombre del grupo.
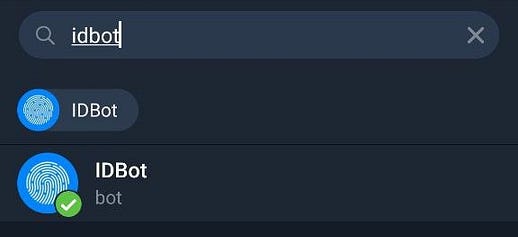
Agregar IDBot al grupo.

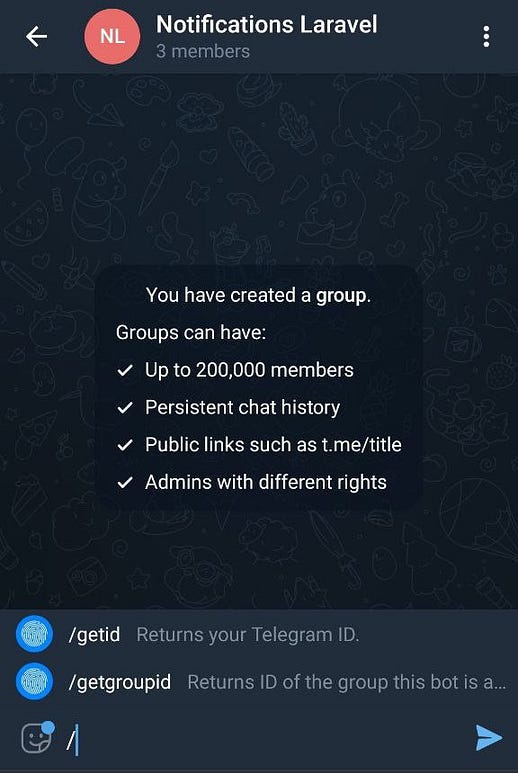
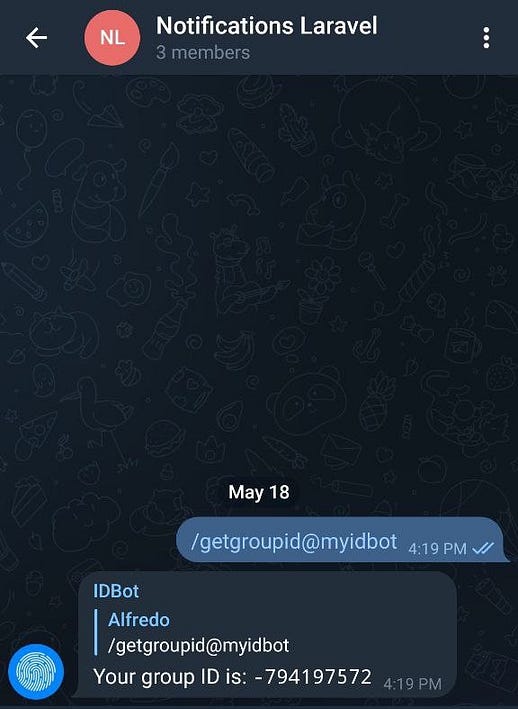
Obtenga su ID de grupo.
Paso 5: Crear y configurar Notificación
En Laravel, cada notificación está representada por una sola clase que normalmente se almacena en el directorio de app/Notifications. No se preocupe si no ve este directorio en su aplicación; se creará para usted cuando ejecute el comando make:notification de Artisan:
php artisan make:notification SendNotification
A continuación, configure el archivo app/Notification/SendNotification
<?php
namespace App\Notifications;use Illuminate\Bus\Queueable;
use Illuminate\Contracts\Queue\ShouldQueue;
use Illuminate\Notifications\Messages\MailMessage;
use Illuminate\Notifications\Notification;
use NotificationChannels\Telegram\TelegramMessage;class SendNotification extends Notification
{
   use Queueable;   public function __construct()
   {
       //
   }

   public function via($notifiable)
   {
      return ['telegram'];
   }public function toTelegram($notifiable)
   {
      return TelegramMessage::create()
          ->to('-794197572')
          ->content('Enviando nuestro primer mensaje con Telegram');
   }}
Paso 6: Enviar notificación
Puede enviar notificaciones a través de la función de notify o, alternativamente, puede enviar notificaciones a través de la fachada de Notification. Este enfoque es útil cuando necesita enviar una notificación a varias entidades notificables, como una colección de usuarios.
notify rasgo
use App\Notifications\SendNotification;$user->notify(new SendNotification($invoice));
Fachadad e Notification
use Illuminate\Support\Facades\Notification;Notification::send($users, new SendNotification($invoice));
Gracias por leer. Si le gusta esto… ¡Déjeme un 👍🏼 y sígueme!

Diego Pacheco
Ingeniero en Sitemas, MBA (Babson College). Desarrollador PHP/Java/JavaScript. Fundador & CEO de EpicStudio. Entusiasta de las tecnologías web (JavaScript, Vue, Laravel, AWS, Docker) Viajes, Negocios, Surf y Growth.
Recent Post

ES2022: Las 7 nuevas y flamantes funciones

Componentes de AWS Lambda
